

This is a three part tutorial series that will show you how to send Push Notifications from Parse, from the backend server to client devices (Android & IPhone). In this first part, we’ll build a REST based backend server (using Java EE Spring4 and the Jersey framework) that will utilize Parse’s Rest API’s to send Push Notifications.
In the second part of this series, we’ll build an Android client using the Android Studio IDE targeting the Android Honeycomb (API SDK Level 11) and Marshmallow (API SDK Level 23) versions, that will receive push notifications sent by the backend server. Finally, in the third and final part of this series I’ll show you how to build an IPhone client using Xcode (7.0.1) for receiving push notifications.
So let’s get started.
First off, here’s a list of the software you’ll need to run this tutorial.
The first step you’ll need to perform is create (or register) an application on Parse. To do that, go to www.parse.com and create an account. I’ve already done that and created an application called “F3Scrum” (as shown below).

Once your application is created, go to “Settings” -> “Keys” and note down the following keys (as depicted in the screenshot below), as these will be used later for configuration in our backend server implementation.

Next, you’ll need to bootstrap your JavaEE Spring application using Spring Boot. Spring Boot helps you create a skeleton for your application using a build dependency system.
For this, go to the Spring Initializer website (www.start.spring.io) and configure your application. Since we are using the Jersey REST framework for developing APIs, you should select Jersey (JAX-RS) from the options provided. The packaging is done in web-archive (war) format so that it can be deployed on our Tomcat application server. Also you’ll need to select Maven as your build dependency system.
Once all the fields have been filled, click “Generate Project” and download it on your computer.


Once the project has been downloaded, we’ll need extract and import it in the Eclipse IDE. Click “File” -> “Import…” -> “Existing Maven Projects” and browse the extracted folder and download it. The maven will auto download all the dependencies required for building the project, as defined in the “pom.xml” file.

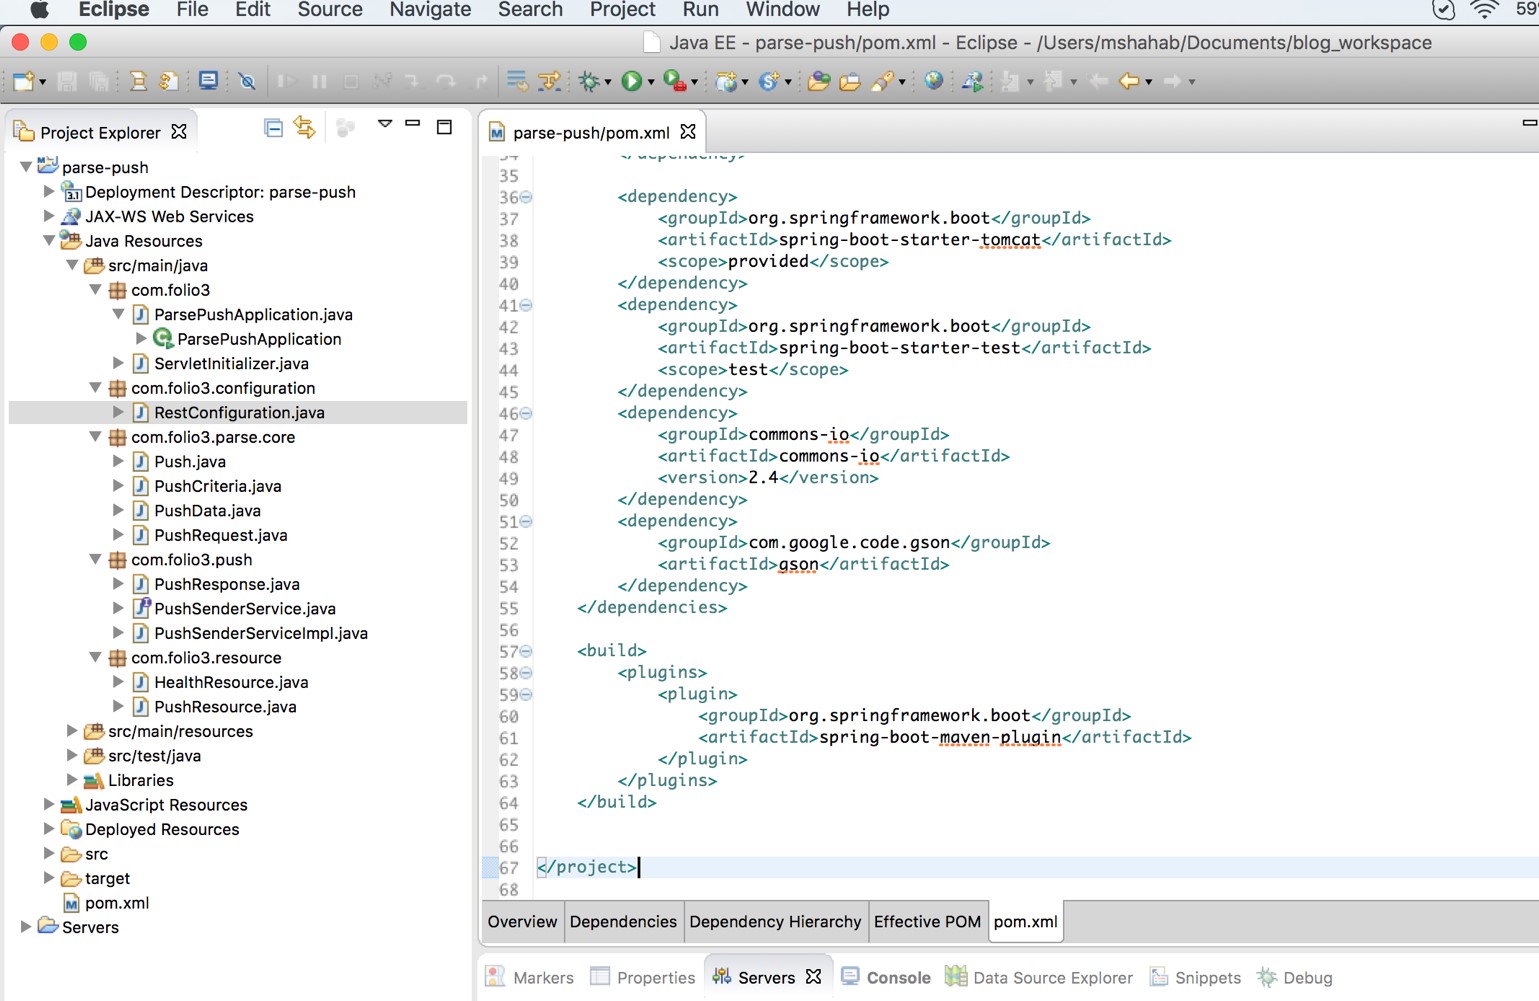
Next, you’ll need to modify the “pom.xml” file to include Google’s Gson library (that maps Java classes to JSON and IOUtilities package) as one of the “dependencies” in your project.
<dependency>
			<groupId>commons-io</groupId>
			<artifactId>commons-io</artifactId>
			<version>2.4</version>
		</dependency>
		<dependency>
			<groupId>com.google.code.gson</groupId>
			<artifactId>gson</artifactId>
		</dependency>
Next you need to define the credential keys of the Parse application in the “application.properties” file in the resources folder, so that it can be read in the service class.
File: “application.properties”

Next, we will create a “PushResponse” class that will carry the response error code, payload and status of the rest call to the Parse Server. The response will include only non-empty / non-null attributes (as shown below).
File: “PushResponse.java”

Next, we will create a service layer interface and implementation classes that will actually post REST API requests to the Parse Server for push notifications.
There are two ways to send push notifications to Parse.
We will be sending Push Notifications via channels in this tutorial. The format for it given in the Parse Rest API docs (shown below).

File: “PushSenderService.java” (Interface)

We will use the annotation-based approach provided in the Spring4 framework to read the properties from the application.properties file.

Here’s the code snippet for configuring the connection to the server.

The “sendPush” function will send the push notification criteria to Parse based on which, push notifications will be sent by the Parse Server.


Next, we will create bean classes that are converted to JSON by the Gson library, to send requests to the Parse Server. These include the following classes:
PushData.java
The PushData class contains attributes of the Parse “data” dictionary.
Parse Rest Documentation
(https://parse.com/docs/rest/guide#push-notifications-customizing-your-notifications)

The PushData bean class contains these attributes and their getter and setter methods, which are used in the PushRequest class.

PushRequest.java

Push.java

Now we need to expose an endpoint that will be used to define the criteria based on which, push notifications will be sent by the client. To do so, we’ll create a PushResource class and create a service that will respond to HTTP POST requests using the Jersey framework. It will accept the JSON payload and will respond back in JSON format. The PushService will be autowired (i.e. a suitable implementation of PushService will be initialized and injected) by the Spring4 framework.

Finally, we need to tell the Spring-framework the package containing the resource layer to scan, so that the appropriate Resource components are initialized. In addition, we will register the LoggingFilter, that will log the request response payloads in the server logs, and the context filter, that knows the context of the requesting user.

To run this project, you will need to install tomcat server and deploy your application on it. For that, in Eclipse, open the “Servers” Tab by going to “Windows”->”Show View” -> “Servers” (as shown below). The default port of the tomcat server is 8080.

Click the “Servers” tab to create a new “Tomcat 8” server and browse to the extracted Tomcat directory to integrate the tomcat server with Eclipse IDE. The Tomcat8 server can be downloaded from https://tomcat.apache.org/download-80.cgi . The zip file containing the core binary distribution is located at “http://www.us.apache.org/dist/tomcat/tomcat-8/v8.0.28/bin/apache-tomcat-8.0.28.zip”.


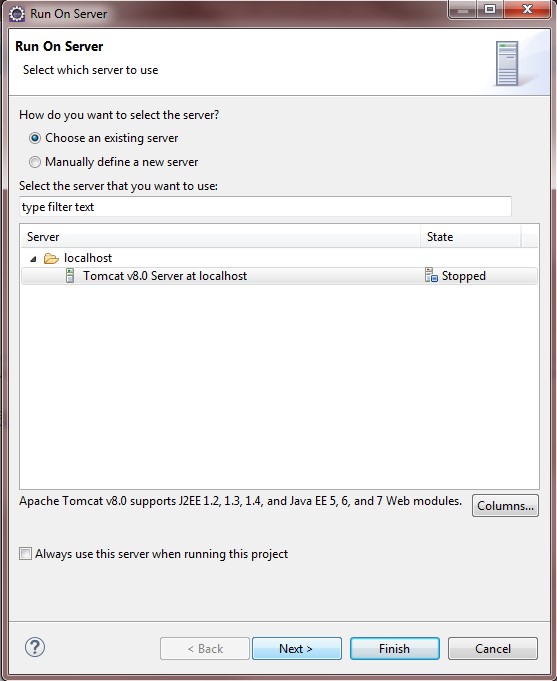
Right click on the project -> Run As -> Run On Server, and deploy this project on the server (as shown below).


Postman is a chrome browser extension that you can use to test REST API Services. Open it up and create a push request. The path is : http://localhost:8080/parse-push/push

When you do that, you can see the logs generated by your server in the Console window as well in Eclipse (as shown below). And that’s it.

In this tutorial, I showed you how to implement a backend server using Java Spring and Jersey framework that sends Push notifications to clients. If you performed this tutorial, you have successfully configured and deployed your application on the Tomcat servlet container and tested your service using the Postman client. In the second and third parts of this series, I’ll show you how to create an Android and iPhone app to receive push notifications.
Explore our blog
As a leading mobile app development company (iPhone, Android, Windows Phone, HTML5 app development), Folio3 specializes in native app development services and cross platform mobile app development services for the iPhone and iPad. We also offer extensive mobile app testing and QA services. If you have a mobile app idea that you’d like to discuss please or would like to know more about our iPhone app development services, please Contact Us. Learn more about our iPhone, Android and Windows Phone app development services.
USA408 365 4638
1301 Shoreway Road, Suite 160,
Belmont, CA 94002
Whether you are a large enterprise looking to augment your teams with experts resources or an SME looking to scale your business or a startup looking to build something.
We are your digital growth partner.
Tel:
+1 408 365 4638
Support:
+1 (408) 512 1812


COMMENTS (0)
Tweet