
Hi guys,
In the previous post we have learned How to create a Grid with Paging,Sorting,Filtering.
In this post I’ll show you how to upload a file in AngularJS. For this tutorial, we’ll create a simple form that has a file upload field, which binds with a controller to get the data from the form. In AngularJS, $scope is an object that provides two way binding between a view and a controller, which means that any value changes at the controller level will also reflect in the view and vice versa. However, this binding won’t work in the case of a file field.
This is the only tricky part when uploading files in AngularJS, the rest of it is the essentially the same flow you’ll find in other programming languages. We’ll handle this particular limitation by creating a custom directive. The controller will then call the service, which will send the file to the server.
To see a video demo of this tutorial check out the link below. You can also download the source code for this tutorial from this link.
Let’s get started.
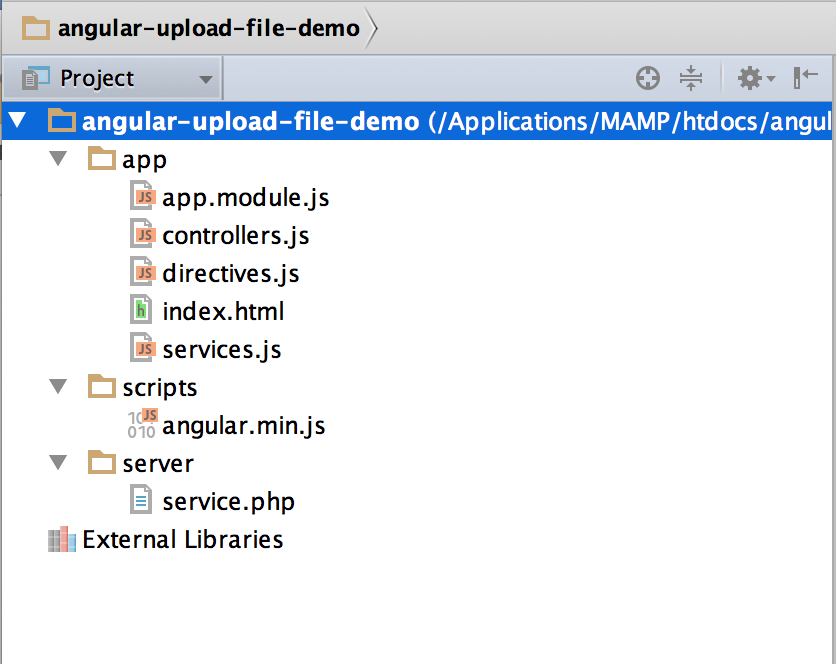
Here’s the demo project structure you’ll need to setup for this tutorial. This is based on John Papa’s Angular JS app structure guidelines. Check out the link below for more details on these guidelines.
1. App
2. Scripts
Given below is a screenshot of the project structure. This is what you’ll see if you’ve executed the above step correctly.
Since Angular JS applications are initialized using modules, so we’ll define a module here with the name ‘app’ using the angular.module function (as depicted below).
(function () {
    'use strict';
    angular.module('app', []);

})();
Next we need to setup the view. A simple form is required for this step, so we’ll define it in our index.html file, as shown in code snippet below.
<!DOCTYPE html>
<html lang="en" ng-app="app">
<head>
    <meta charset="UTF-8">
    <title>File Upload Demo</title>
    <script src="../scripts/angular.min.js"></script>

    <script type="text/javascript" src="app.module.js"></script>
    <script type="text/javascript" src="controllers.js"></script>
    <script type="text/javascript" src="directives.js"></script>
    <script type="text/javascript" src="services.js"></script>

    <link rel="stylesheet" href="http://maxcdn.bootstrapcdn.com/bootstrap/3.3.6/css/bootstrap.min.css">
    <script src="https://ajax.googleapis.com/ajax/libs/jquery/1.12.0/jquery.min.js"></script>
    <script src="http://maxcdn.bootstrapcdn.com/bootstrap/3.3.6/js/bootstrap.min.js"></script>

</head>
<body ng-controller="FileUploadController">
    <h2>File Upload Demo</h2>

    <div class="panel panel-default">
        <div class="panel-body">
            <form>
                <div class="form-group">
                    <label for="myFileField">Select a file: </label>
                    <input type="file" demo-file-model="myFile"  class="form-control" id ="myFileField"/>
                </div>
                <button ng-click="uploadFile()" class = "btn btn-primary">Upload File</button>
            </form>
        </div>
    </div>
    <div>{{serverResponse}}</div>
</body>
</html>
As you might know, the ngModel directive does not provide two way binding in case of a file field. For example, if you define ng-model = “demoFile” in file field in your index.html file and try to get its value using $scope.demoFile in the FileUploadController, the value will be returned as ‘undefined’. To counter this limitation, we’ll create the following custom directive to provide this missing binding (as shown below).
(function() {
    'use strict';
    var myApp = angular.module('app');

    /*
     A directive to enable two way binding of file field
     */
    myApp.directive('demoFileModel', function ($parse) {
        return {
            restrict: 'A', //the directive can be used as an attribute only

            /*
             link is a function that defines functionality of directive
             scope: scope associated with the element
             element: element on which this directive used
             attrs: key value pair of element attributes
             */
            link: function (scope, element, attrs) {
                var model = $parse(attrs.demoFileModel),
                    modelSetter = model.assign; //define a setter for demoFileModel

                //Bind change event on the element
                element.bind('change', function () {
                    //Call apply on scope, it checks for value changes and reflect them on UI
                    scope.$apply(function () {
                        //set the model value
                        modelSetter(scope, element[0].files[0]);
                    });
                });
            }
        };
    });
})();
Next we’ll need to setup the controller, since in Angular JS controllers are used to communicate with the views. In the code snippet below, the FileUploadController defines the handler for the click event of the File Upload button. It passes URL and the file to the service and displays the respective success or error message in the view. The API I’ve used here is written in PHP, which simply returns a success or failure message depending on whether the file was received or not.
(function () {
    'use strict';
    var myApp = angular.module('app');
    myApp.controller('FileUploadController', function ($scope, fileUploadService) {

        $scope.uploadFile = function () {
            var file = $scope.myFile;
            var uploadUrl = "../server/service.php", //Url of webservice/api/server
                promise = fileUploadService.uploadFileToUrl(file, uploadUrl);

            promise.then(function (response) {
                $scope.serverResponse = response;
            }, function () {
                $scope.serverResponse = 'An error has occurred';
            })
        };
    });

})();
Since Angular JS services are standalone services, they can be accessed throughout the application. You can use them by adding them as a dependency in Angular JS components like controllers, directives or other services. In this case, we’ll just define a service which will add a file in the FormData object and use the Angular JS $http service to send it to the server, as shown in the code snippet below.
(function () {
    'use strict';
    var myApp = angular.module('app');
    myApp.service('fileUploadService', function ($http, $q) {

        this.uploadFileToUrl = function (file, uploadUrl) {
            //FormData, object of key/value pair for form fields and values
            var fileFormData = new FormData();
            fileFormData.append('file', file);

            var deffered = $q.defer();
            $http.post(uploadUrl, fileFormData, {
                transformRequest: angular.identity,
                headers: {'Content-Type': undefined}

            }).success(function (response) {
                deffered.resolve(response);

            }).error(function (response) {
                deffered.reject(response);
            });

            return deffered.promise;
        }
    });
})();
And’s that it. If you completed the above tutorial successfully, you have learned how to upload a file in Angular JS, by using a custom directive that makes the value of file field in the controller accessible, and then using a controller to call an Angular JS service to send it to the server.
Hope you found it useful.
USA408 365 4638
1301 Shoreway Road, Suite 160,
Belmont, CA 94002
Whether you are a large enterprise looking to augment your teams with experts resources or an SME looking to scale your business or a startup looking to build something.
We are your digital growth partner.
Tel:
+1 (408) 412-3813
Support:
+1 (408) 512 1812


COMMENTS ()
Tweet