


There might be some situations where you start your development from a boilerplate template or downloaded code from the internet & you plan to customize it. Changing the identity of a project during development is always required as client requirements also change. In this post, I am going to show an easy guide for changing your project name using Android Studio.
If you try to just rename the project, the android studio will prompt an error that the project does not exist. To get over it, follow us through this blog to rename your android project successfully.
Before starting we strongly recommend updating the android studio to the latest version. Although we tried it on all versions of the android studio and it worked. So let’s dive right into it.
Step 1:
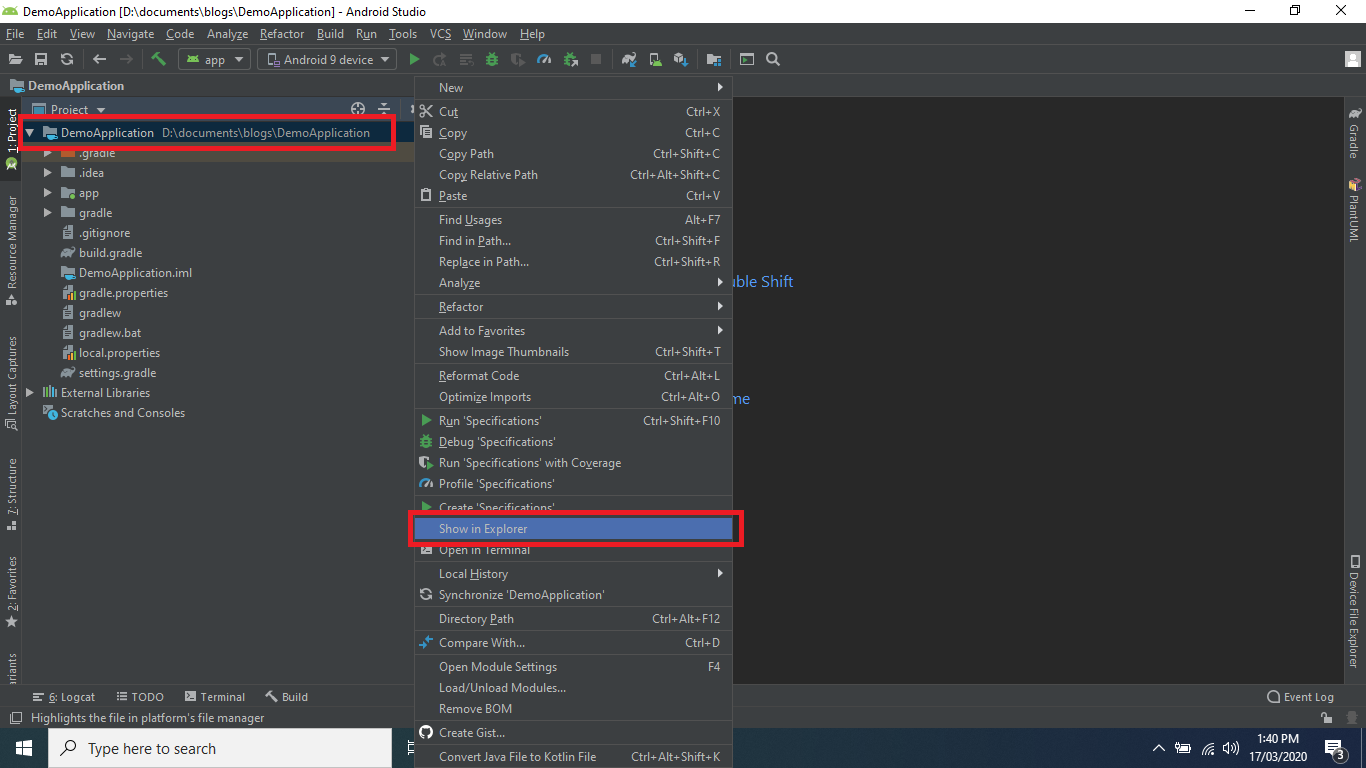
First, open the project directory by right-clicking on the project name and click at show in explorer option.

Step 2:
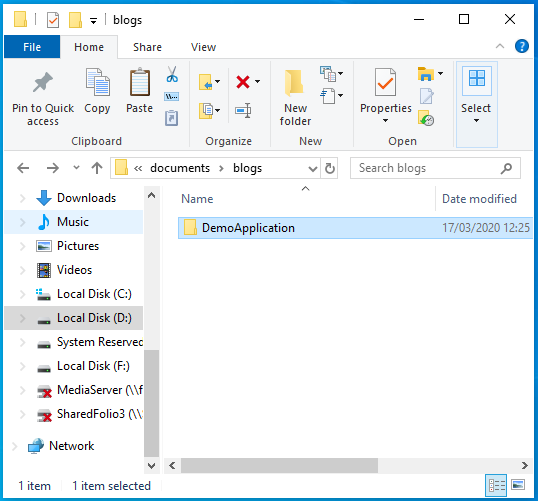
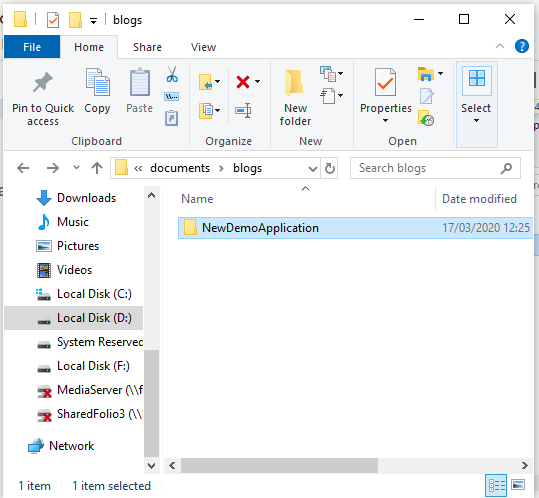
Close the android studio, and go to the window explorer of the project directory and rename the root folder with a new name.


Step 3:
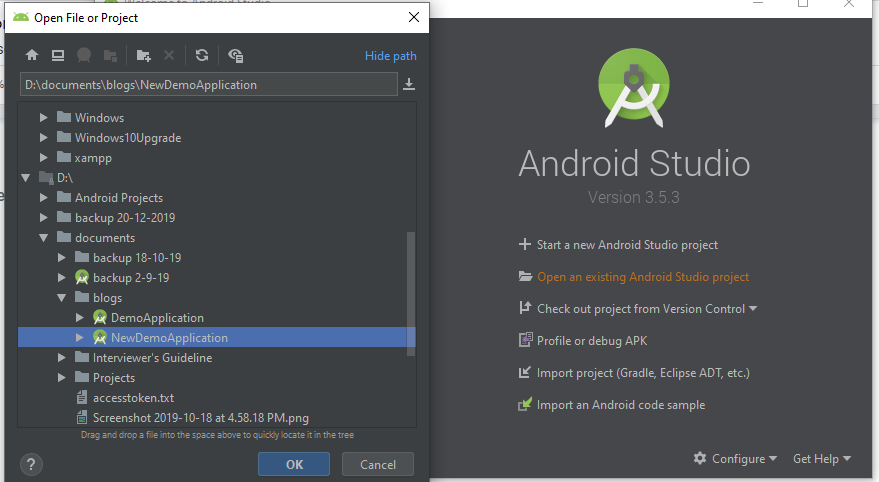
Open the android studio and open the project (not by project history). Select option Open an existing Android Studio Project and select your project.

Step 4:
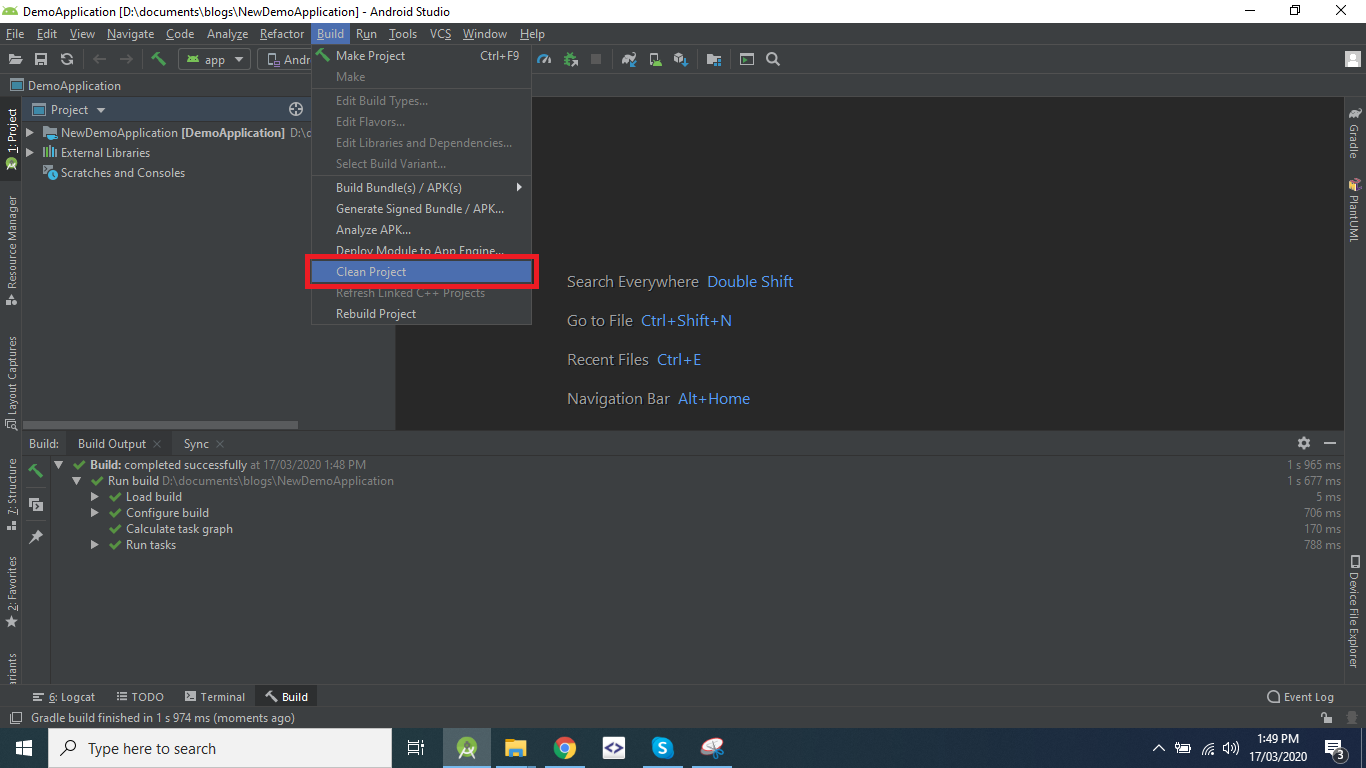
Now clean the project using Android studio (Click on Build from top toolbar then Click on Clean Project).
Step 5:
Now go to settings.gradle file and rename the project & sync it


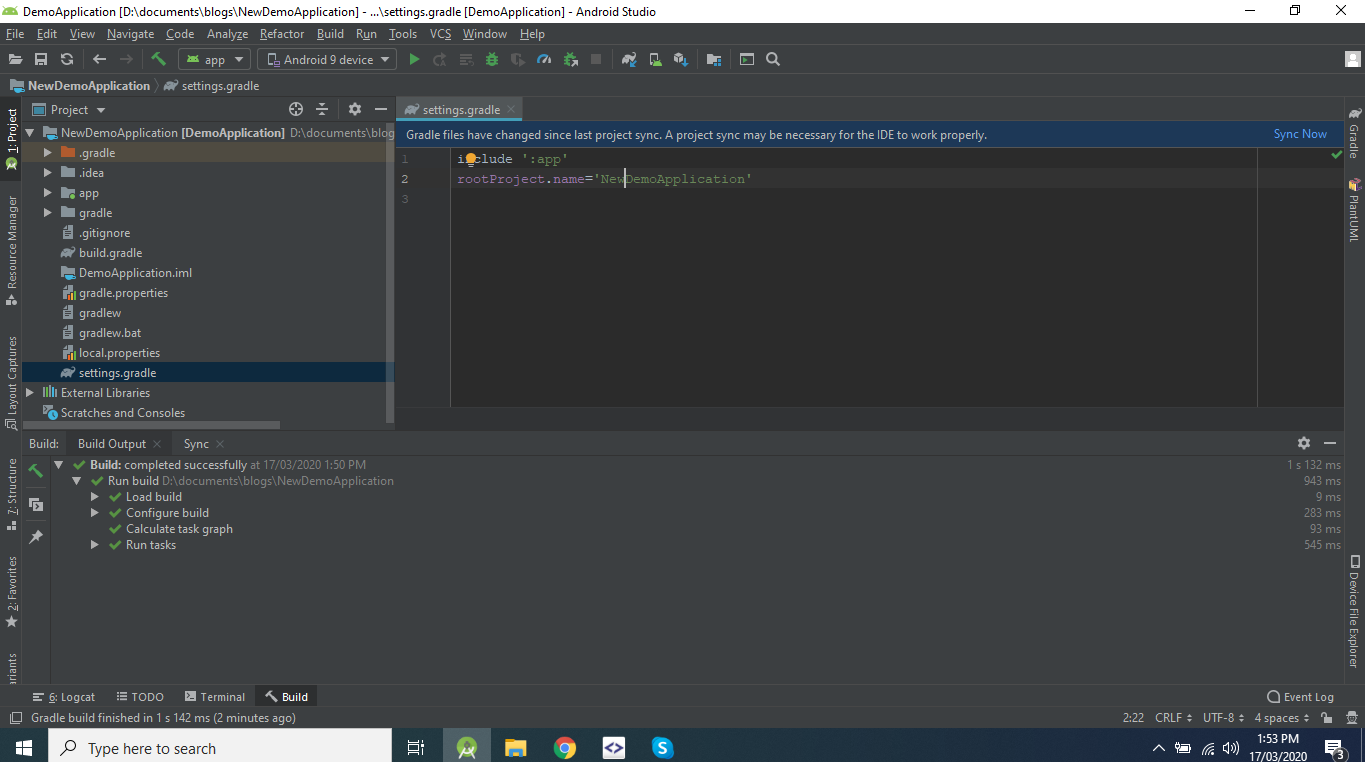
Congratulations You’ve successfully changed your project name.
Do you know any other trick? Do let us know in the comments.