

In the last blog, I told you how to prevent ecommerce frauds on your Magento store using Kount. You can have a quick read here: https://www.folio3.com/blog/ecommerce-fraud-prevention-advanced-fraud-protection-features-in-magento/
This time around, I will give you a rundown on the advanced protection features that can help you assess risk and detect fraud on your Magento store by creating Kount’s User Defined Fields. Please have a look below:
If you’re looking for a more secure online business, you can create User Defined Fields, also known as UDFs. These fields pass the details of your transaction to Kount and allow you to incorporate additional information related to your business. The UDFs can be used in conjunction with your standard Kount rules to monitor high-risk transactions.
There are a total number of four data types available for User Defined Fields.
But before we move forward, it is important for you to note the following limitations:
| Attribute | Size | Description | Example |
| UDF[NUMERIC_LABEL] = value | 1-255 | Numbers, negative signs, and decimal points | UDF[FREQUENCY] =258.6 |
| UDF[ALPHA_NUMERIC_LABEL = value | 1-255 | Letters, numbers, or both | UDF[COUPON] = FOLIO3 |
| UDF[DATE_LABEL] = value | 1-20 | Formatted as YYYY-MM-DD or YYYY-MM-DD HH:MM:SS | UDF[FIRST_CONTACT] = 2018-01-29 20:12:30 |
| UDF[AMOUNT_LABEL] = value | 1-255 | Integers only, no decimal points, signs or symbols | UDF[BALANCE] = 1000 |
To begin with, the UDFs are created on Kount Dashboard, which is also known as Agent Web Console. You should first define the UDF in the Agent Web Console and then pass it to Kount through an array, called “UDF as key-value pairs”, where the label is the ‘key’ and the data passed is the ‘value’.
To make you understand better, I will take you through all the steps required to create UDFs. Please see below:
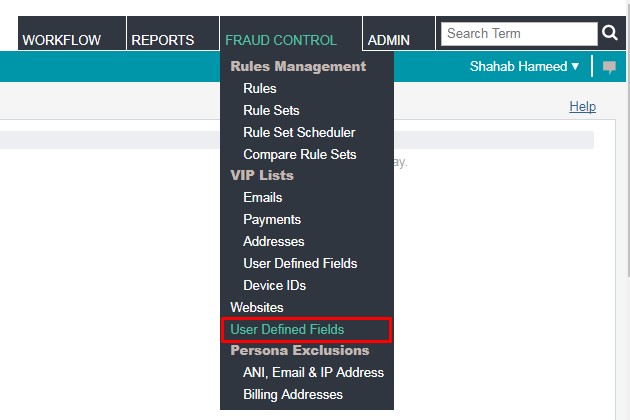
In the Agent Web Console (AWC), browse to the “Fraud Control” tab and click on “User Defined Fields”
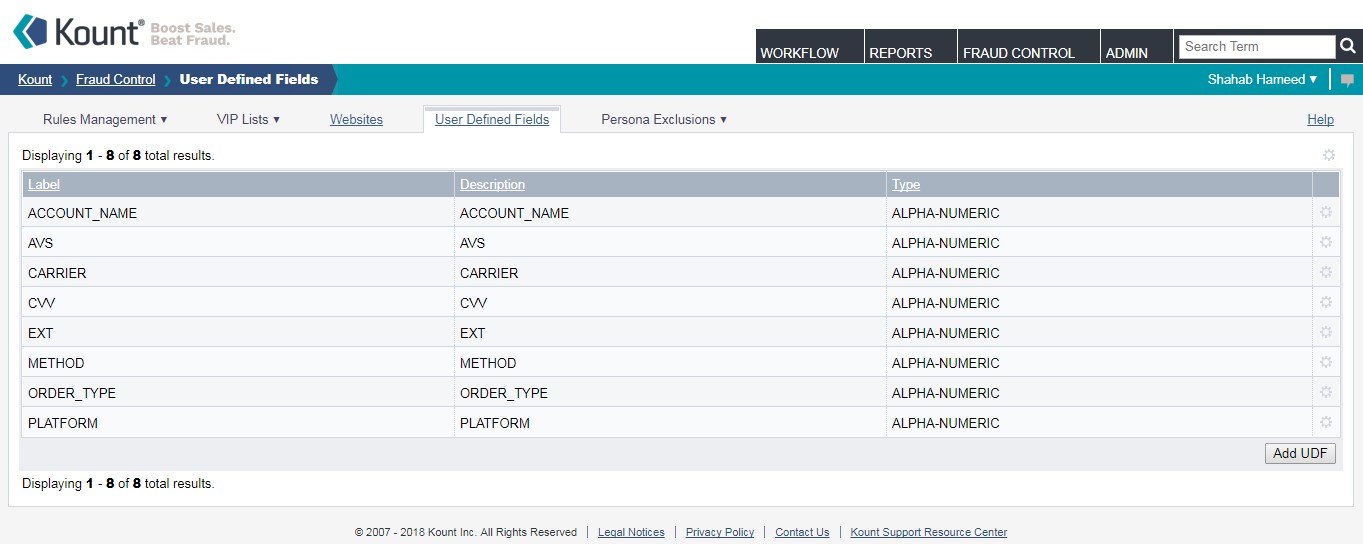
The maximum number of UDFs that you can create is 500. Besides, please note that the response time for evaluating transactions will lower down with the rising number of UDFs.
The next step to create a UDF is to click on the “Add UDF” button, present at the bottom of the page. Now, plug the information in “Label”, “Description” and “Type” parameters and click on the “Save UDF” button.

One of the standard Kount rules is to identify orders that are suspicious. Example of such an activity can be multiple orders from a particular IP address in a short time period.
If you are a Magento Customer Service Representatives (CSR), this would get a little complicated as you are taking orders for a lot of customers over the phone. With the said rule, you can place limited orders only within a certain time frame otherwise, Kount would start declining the orders automatically.
To overcome this, it is essential to classify the orders that are being placed on the Magento Admin Panel. You can send a User Defined Field, named “ORDER_TYPE”, with the order information, to Kount to distinguish whether the order has been placed on a “WEB” from the front end or on a “PHONE” by a CSR from the backend. This way, the rule for “ORDER_TYPE=PHONE” would not apply to Magento Admin CSRs.
For your better understanding, let me share a step by step guide with you. Please see below:
The first step is to create a User Defined Field “ORDER_TYPE” on the Kount Agent Web Console. This will create a UDF variable that can be sent from Magento during order placement via the Kount API.

The next step for you is to add a rule that approves all orders. It contains the “ORDER_TYPE” attribute as “Phone”, prioritize it by marking this rule as “Important” so that it can supersede all the other rules.

First, you need to modify the code, which in return will send an inquiry to Kount to further calculate the score. This is imperative as by default, the Kount extension for Magento does not dispatch an event until and unless it is passed to the Kount’s Risk Inquiry System, which is to be captured to add a new UDF into the UDF Array.

Next, you need to capture this event. Add “ORDER_TYPE” UDF, which is to be “PHONE”, condition being the order is placed on Admin Panel, and “WEBSITE” if it is placed on the front end.


By now, Magento should be able to send your UDF to Kount through its API. Depending on the value, Kount must also accept all orders placed from the admin CSRs.


And that’s it!
Please feel free to comment or reach out if you have any questions. If you need any help with customizing your Magento or Magento 2 web store, please get in touch with us.
USA408 365 4638
1301 Shoreway Road, Suite 160,
Belmont, CA 94002
Whether you are a large enterprise looking to augment your teams with experts resources or an SME looking to scale your business or a startup looking to build something.
We are your digital growth partner.
Tel:
+1 408 365 4638
Support:
+1 (408) 512 1812


COMMENTS (0)
Tweet